

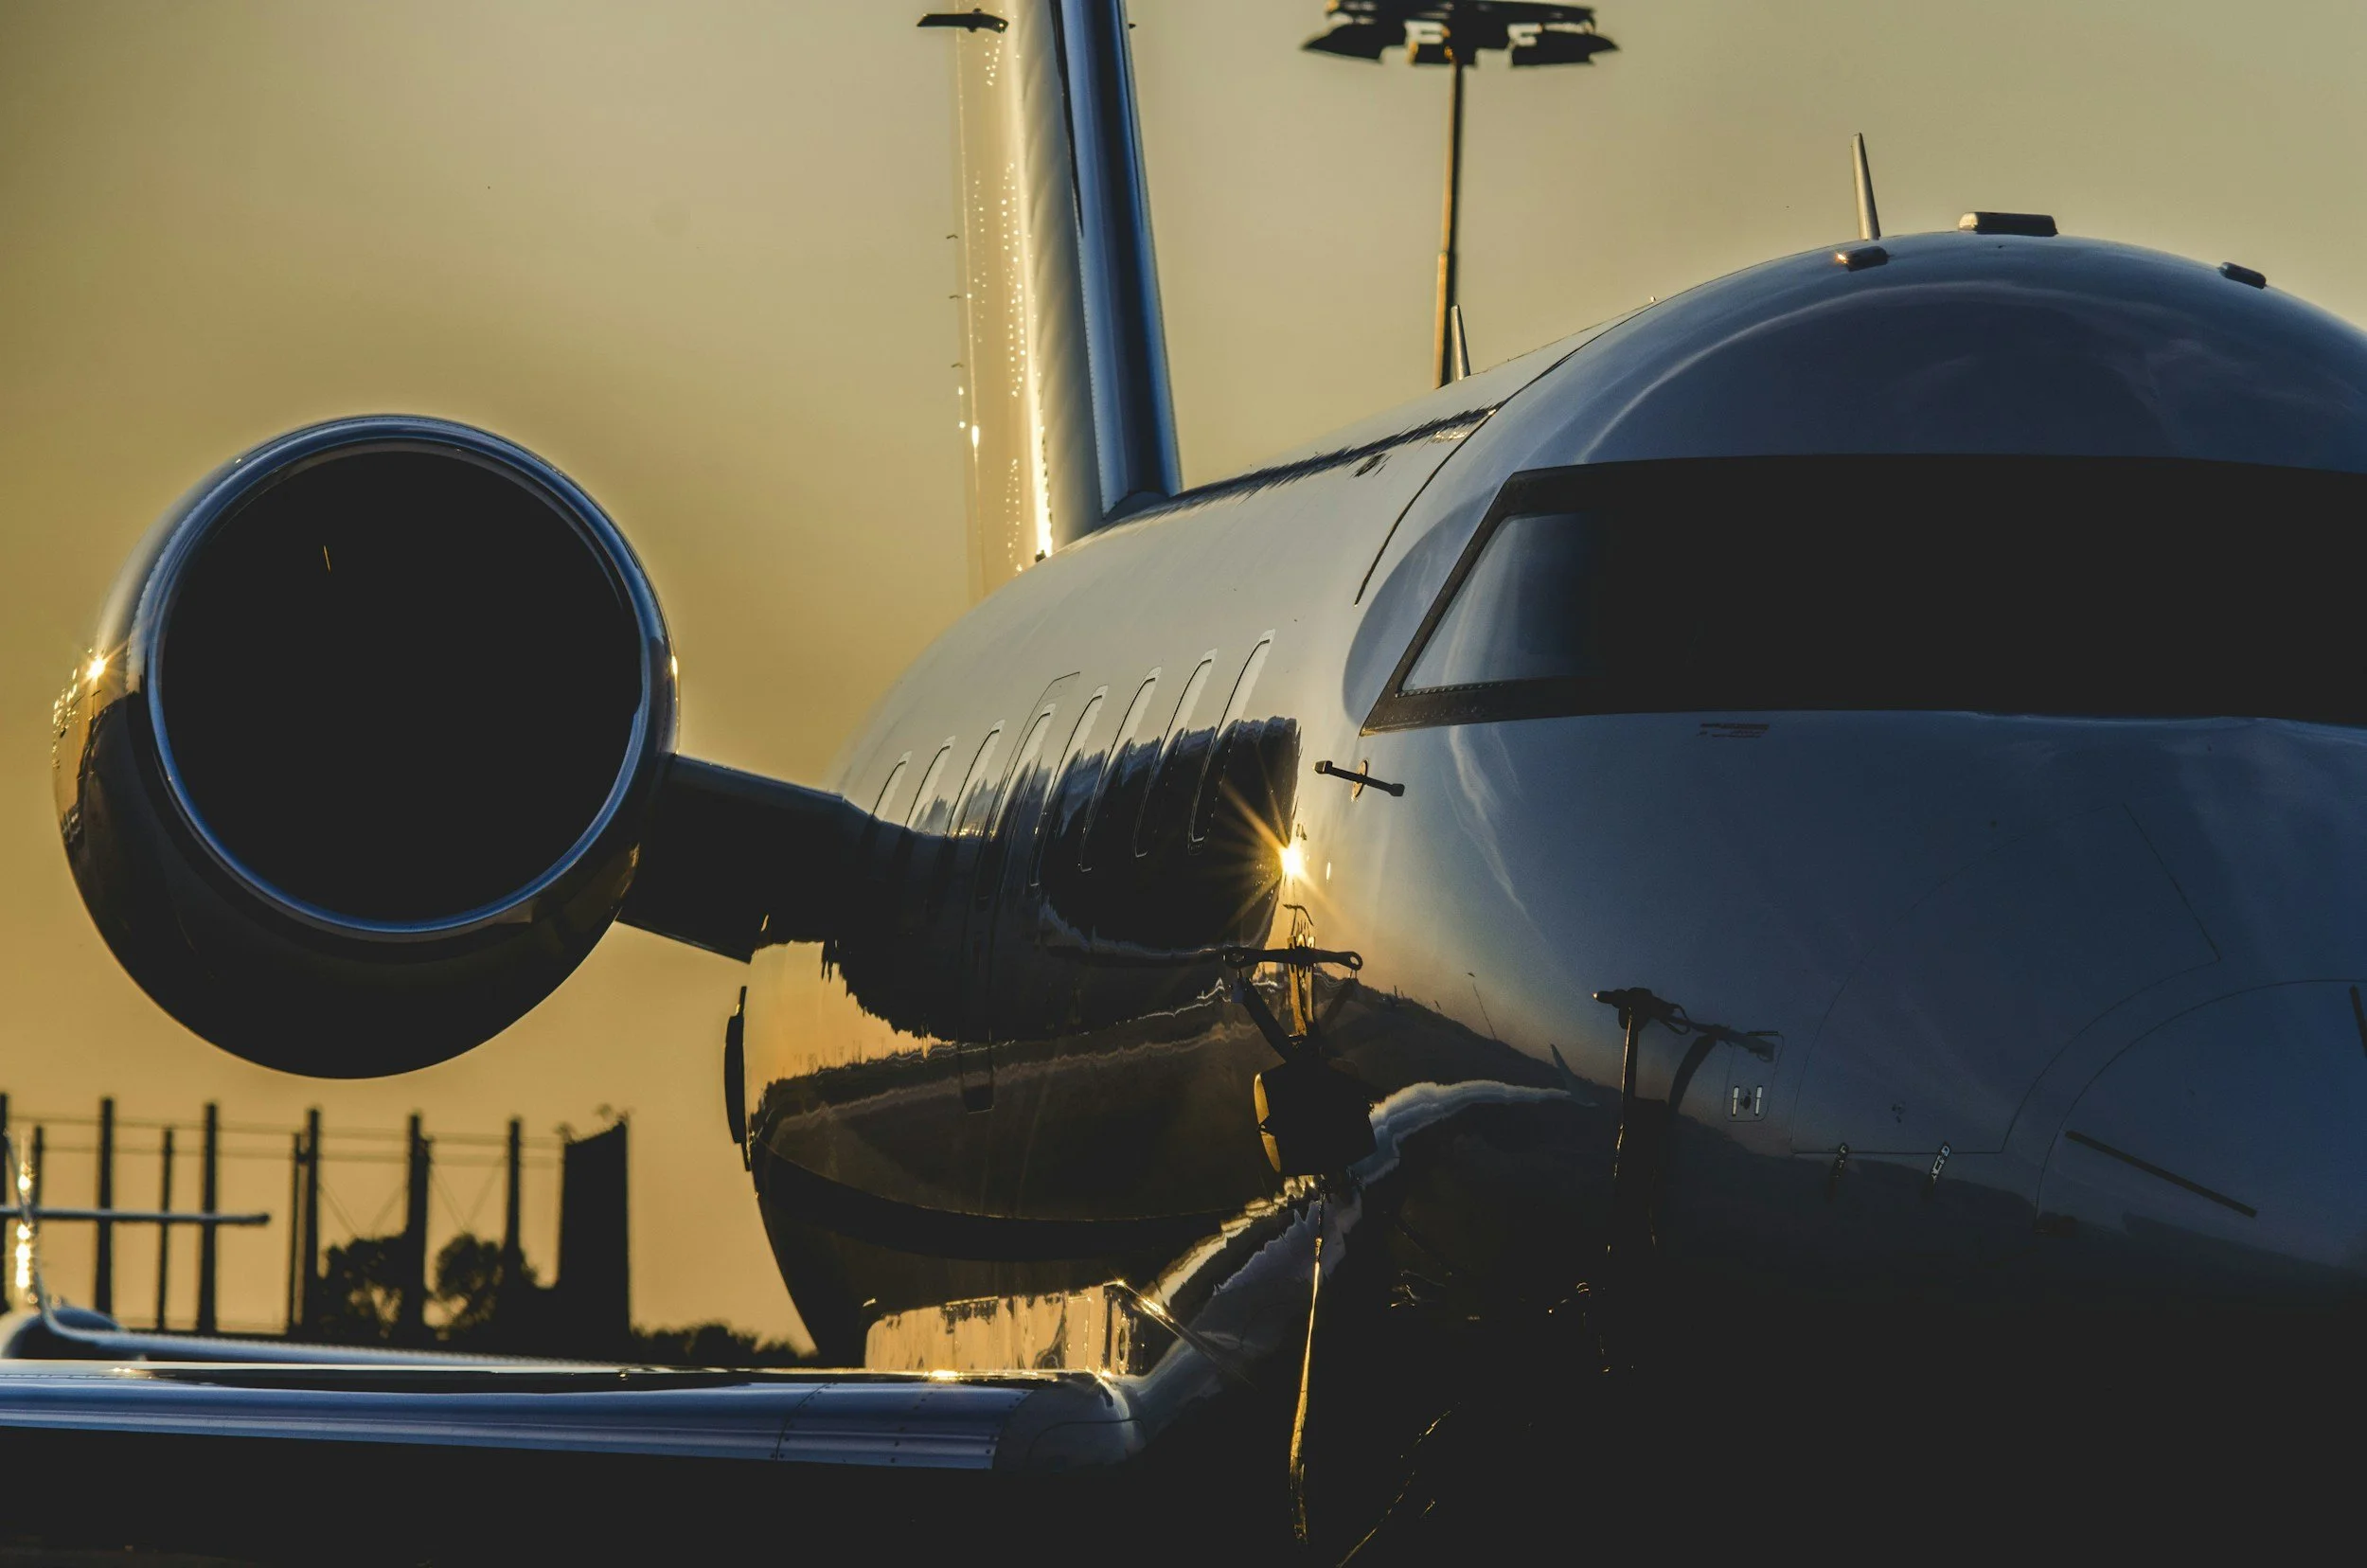
How to Safely Remove Bug Buildup, Resin, and Tar From Aircraft Surfaces
Bug residue, tree resin, tar, and road grime collect on leading edges, inlets, and lower fuselage—especially during spring and low-altitude flights. Left untreated, these contaminants can etch paint, degrade protective coatings, and increase aerodynamic drag. The following guidance covers safe, aviation-appropriate approaches to removal and protection.
Why prompt removal matters
Protects finishes: Insect acids and tar can chemically attack clearcoat and paint over time.
Reduces corrosion risk: Residues trap moisture and contaminants near rivets, seams, and fasteners.
Restores aerodynamics: Smooth leading edges and inlets reduce drag and maintain efficient airflow.
Simplifies maintenance: Fresh deposits are easier to remove and less likely to require aggressive cleaning that can harm coatings.
Products and tools to use
Aviation-approved cleaners and solvents: Formulated to dissolve organic residues without harming paint, sealants, or composites.
Water-based emulsifiers and surfactants: Useful for fresher deposits and to reduce solvent use.
Soft, non-abrasive applicators: Microfiber cloths, soft-bristle brushes, and low-abrasion pads prevent scratching.
Non-metal scrapers: Plastic scrapers or wooden sticks for gently lifting thick tar or resin.
Low-pressure rinse equipment or steam: Loosens deposits without forcing water into seams or sensitive areas.
Containment and recovery supplies: To capture and manage wash water and residues in accordance with environmental rules.
Safe removal steps (general)
Rinse: Use a gentle, low-pressure rinse to remove loose dirt and cool heated surfaces.
Apply cleaner: Work in small sections, allowing aviation-safe cleaner to penetrate the deposit briefly—avoid prolonged dwell times on painted surfaces.
Agitate carefully: Use soft brushes or microfiber pads to lift residue, working along the surface direction to minimize swirl marks.
Use mechanical aids sparingly: For stubborn tar or resin, gently lift with plastic scrapers; avoid metal tools on painted areas.
Rinse and inspect: Thoroughly rinse the area, then inspect under good light to confirm complete removal.
Protect the surface: After cleaning, apply an approved protective coating or sealant to restore water beading and UV protection and to reduce future adhesion.
Special considerations
Composite and polished surfaces: Use milder products and minimal mechanical action; always spot-test first.
Fasteners and seams: Clean gently around rivets and panel joints to avoid dislodging sealant or trapping moisture.
Avionics and vents: Keep openings protected and use non-conductive, low-moisture methods near sensitive equipment.
Environmental and regulatory notes
Contain and properly dispose of wash water and removed residues according to airport and municipal guidelines. Glycol, solvents, and organic contaminants must not enter storm drains or sensitive areas.
DIY tips for aircraft owners
Address spots promptly—fresh deposits come off more easily.
Work in shaded, cool conditions to prevent cleaners from drying too quickly.
Always use aviation-approved products and follow manufacturer guidance.
Perform a small spot test before treating larger areas
When to seek professional help
Consider professional detailing when deposits are baked-on, cover large areas, involve critical openings (inlets, wheel wells), or when paint/coating condition is marginal. Professionals can provide specialized products, equipment, and containment to minimize risk and ensure compliant disposal.